


Let's have a quick overview of Microsoft Power Automate Desktop.
The home page looks like below.
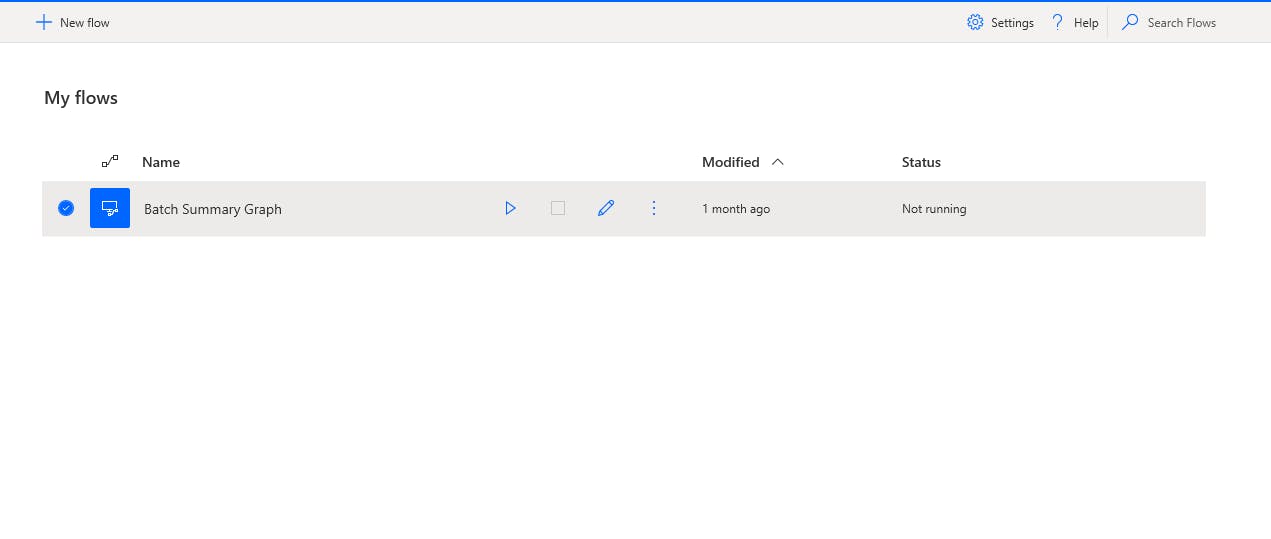
All the automated flows that we have created previously will be visible at the center of the screen. These flows can be run, edited, deleted from the home screen.
If we want to create a new automation task click on "New flow" at the top left corner.
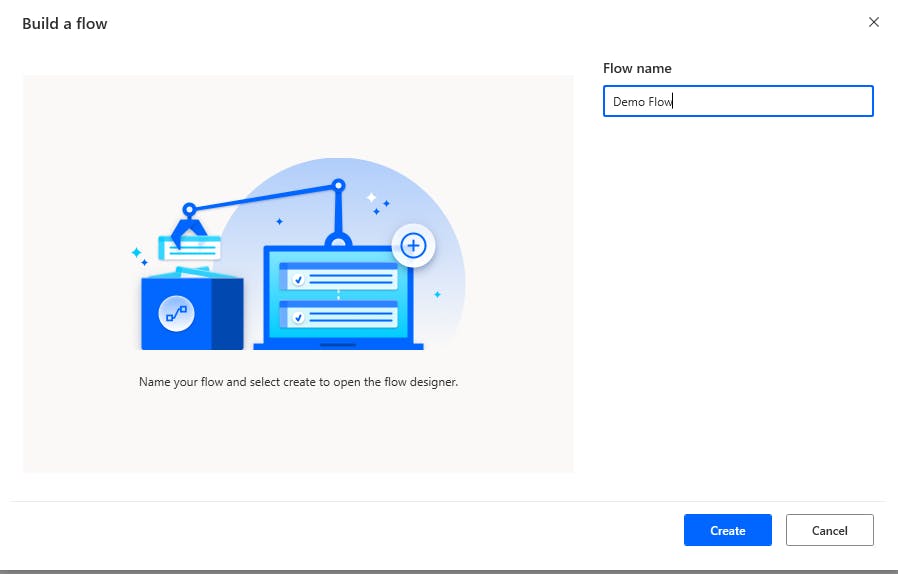
This will ask to provide the name for the flow. Give a name and click on Create button.
A new window will open which will allow us to create the flow. Now, let's understand this new window which mainly consists of three parts.
- The left part is the Actions pane.

Actions pane consists of all the actions which could be used to automate a process. More than 350+ actions were provided by the tool which can be used for different automation. A search bar is also provided which can be used to search for a particular action.
- The center part is Workspace.
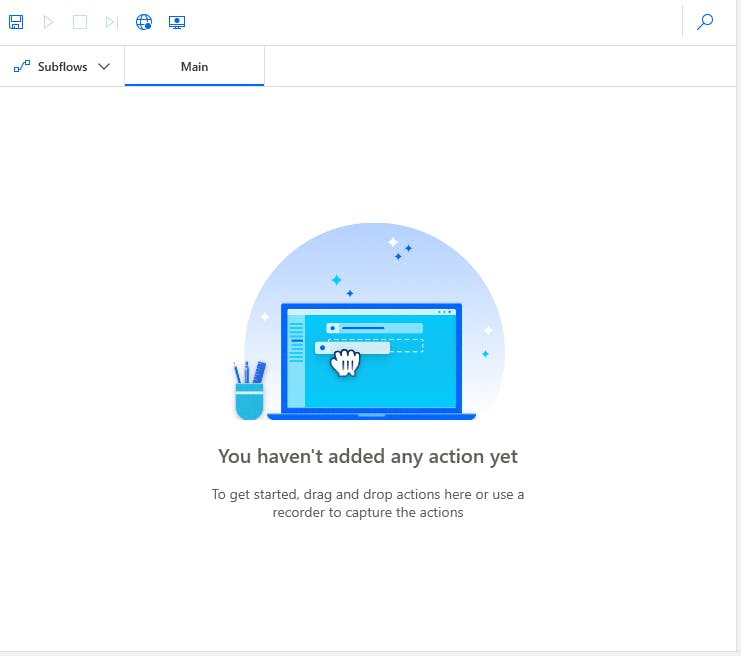
Under workspace, we can drag & drop the actions from the Action pane and start editing the action according to the requirements of the automation. There is another search option provided at the top right corner which can be used to search the contents inside the workspace.
- The right part is Variables.
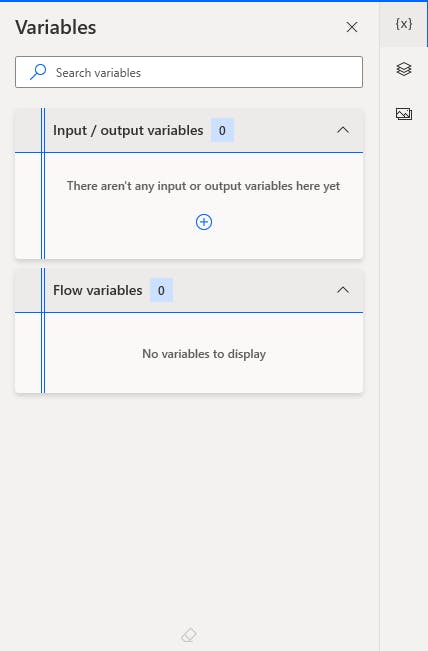
During the process of building automation flow, many variables will be created for the purpose of holding the data. All these variables are visible here.
This is about a quick overview of the tool. Next, let's start with understanding different actions that are available under the Actions pane.